Digital Escape Rooms in your Classroom
If you’re not familiar with the “Escape Room” (and increasingly digital escape rooms) phenomenon found across the U.S., you’re definitely missing out! Escape rooms have made their way into recreational entertainment, board games, and even Hollywood.
The premise is relatively simple: players must complete a series of tasks in order to gain passwords, retrieve clues, or gather other information needed to “escape the room”– digitally, physically, or both. The idea is extremely innovative: it works with any content area, particular skill, or objective you’re teaching, and students are needless to say, extremely into it. After all, their “lives” are on the line!
As you’re reading this, it’s completely reasonable to think: why would I go through the trouble of creating digital escape rooms instead of “straight-up content”? One word: engagement. If a “typical” class entails your students dozing off, working on other material, playing on their phones, etc., you need to ask yourself, are they actually learning?
Consider this super-scientific graph below: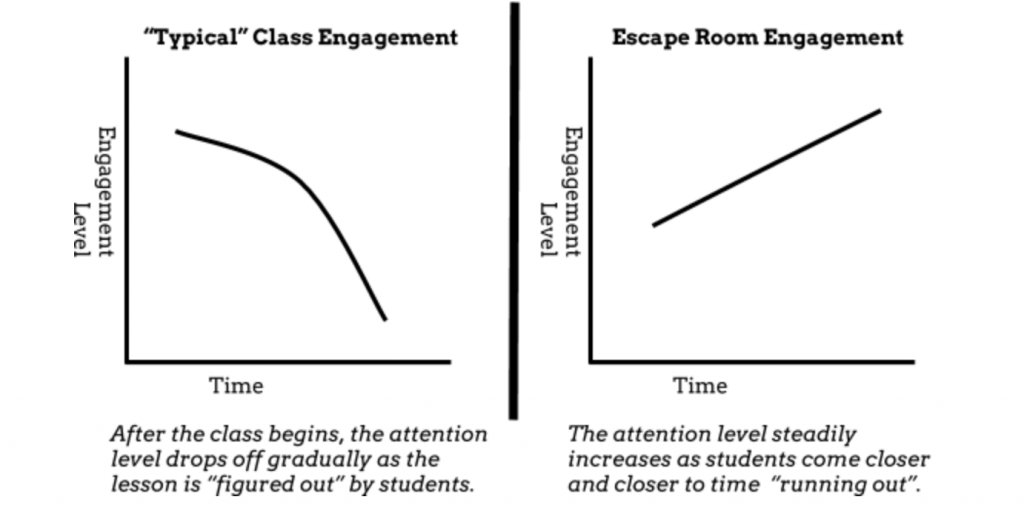
Ultimately, when it’s done right, a digital escape room doesn’t compromise the skills or content that you’re trying to teach. Instead, it makes them more attractive, and thus, more memorable.
Remember: if the whole process sounds intimidating, don’t worry. You don’t have to create comprehensive, super-elaborate digital escape rooms on your first go. Start with a two or three-step room and build from there. Take it poco a poco.
Let’s take a look at a really basic example, one from when I first introduced the idea of digital escape rooms to my high school students.

Because this was a new experience for nearly all of them, you’ll notice a lot of scaffolding involved, especially in the hyperlinked escape flowchart. Also, there’s actually only a couple of puzzles for students to complete, one through Google Forms (which was used as a differentiation checkpoint) and the other through Classtime (as an informal assessment and escape verifier). I didn’t want the number of puzzles or the skill needed to solve them to overwhelm the students and ultimately get in the way of them mastering the day’s objectives.
How to Use Classtime to Make Your (Perfect) Escape Room
Although an assessment app like Classtime may not appear to be an “Escape Room” tool on the surface, it actually can serve as a really unique and helpful tool in your own creations. In my experience, Classtime can:
1) serve as a flexible platform for students to enter a diverse variety of clues and other passwords.
2) be used by students to self-track their “escape progress”.
Let’s show how Classtime can do both of these for you in some pretty awesome ways.
Puzzle Solving
A key to any escape room is the “puzzles” that participants have to solve in order to progress. Essentially, we’re going to be utilizing Classtime as a sort of “puzzle-hub” where students can type in answers, check their accuracy, and eventually, “escape”. Just remember, these clues aren’t arbitrary– students have to earn them by working with the content or skills particular to what you’re teaching that day.
Creating the puzzles in Classtime requires a bit of creativity but there are some really cool options that you can develop. Check out these 10 that I came up with on my own. You’ll see that I’ve arranged these from least to most intricate.
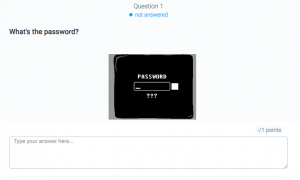
| Password
A really easy way to start: the passcode could be a vocabulary term or something more arbitrary.
|
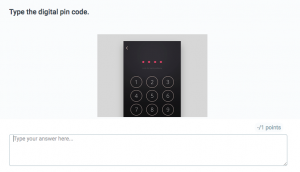
PIN Code
Simply just a series of numbers.
|
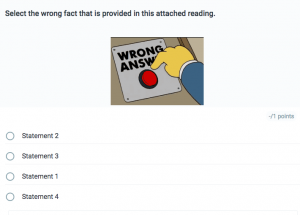
| Intentional Error
Students select the wrong answer, statement, fact, etc.
|
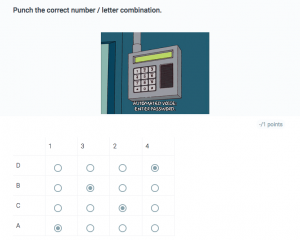
Battleship Pin
A little bit more complicated than a PIN number, this one requires that students put in the correct letter and number relationship.
|
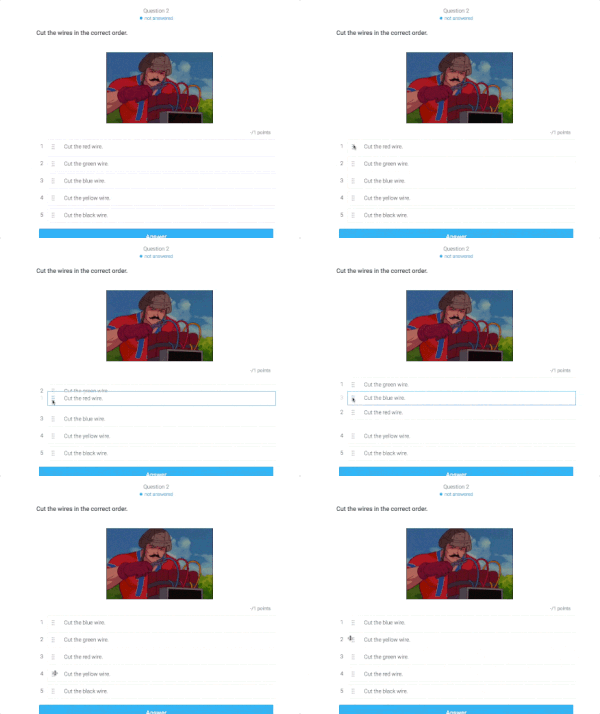
| Wire Cutting
This is the one I used in my example–and who doesn’t love some good ol’ bomb-defusing? Students will have to rearrange the order with which they cut the wires to solve this puzzle.
|
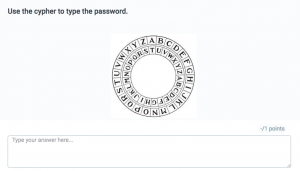
Cipher Code
Essentially, this one takes a password and adds that students punch it into a cipher in order to get the real password. For instance, using this cipher above, “ridgway” would become “kbwzptr”.
|
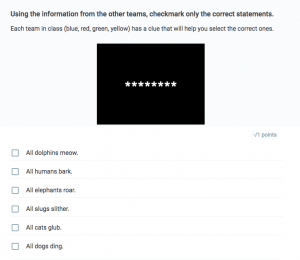
| Team Clues
Now we’re adding a new element to the escape: cooperation. By only giving certain students a series of statements that are true, they are forced to work together to escape.
|
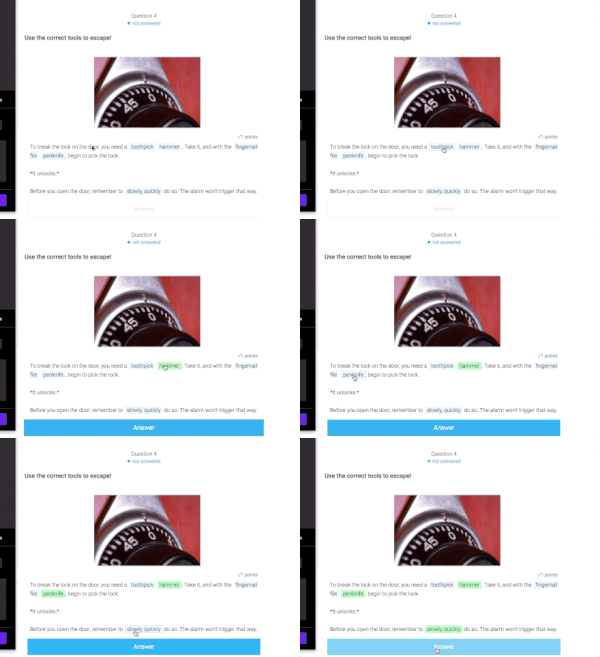
Tool Selector
By using the Highlight Text question type, students can select the exact tools they need to complete the puzzle.
|
| Pathing Password
Along their puzzle-solving adventures, students receive a drawing of a path (the red mark above) that gives them a password answer.
|
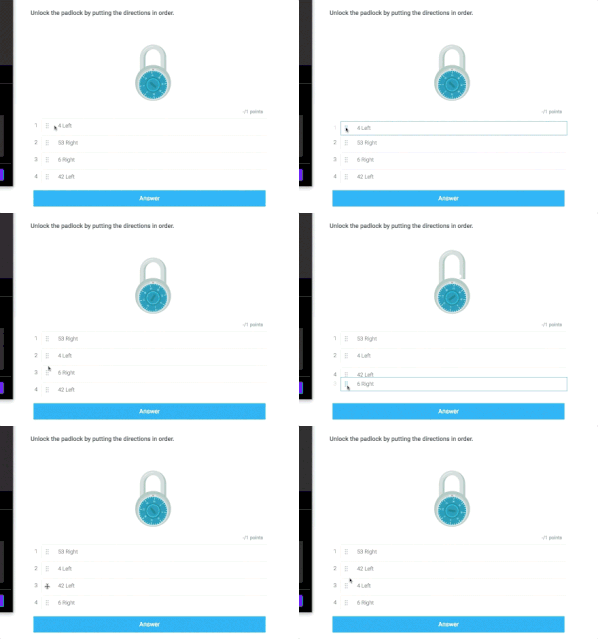
Padlock
Students have to arrange the correct order of padlock turns and numbers in order to solve the puzzle.
|
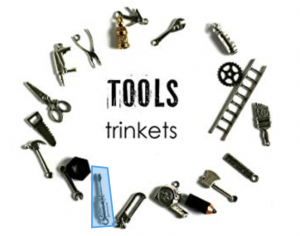
| Hotspot Tool Selection
Students select the right tool to escape the room.
|
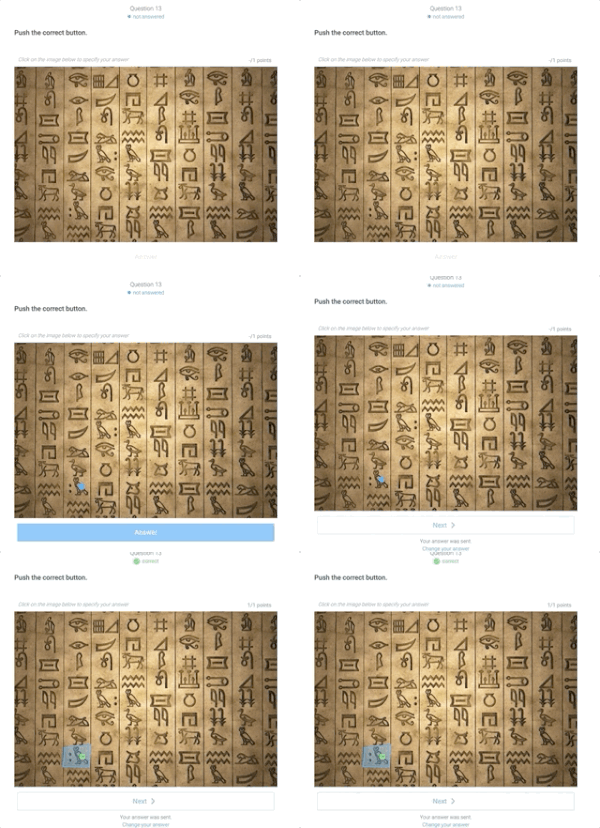
Hotspot Buttons
Students push the correct hieroglyph (like a passcode, just picture-based).
|
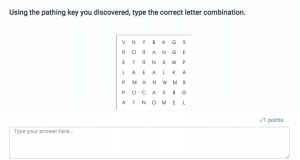
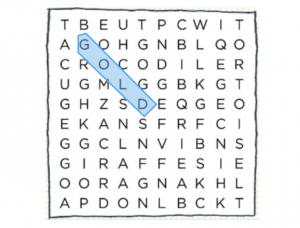
| Hotspot Word Search
Students find and select the passcode using a Hotspot Word Search.
|
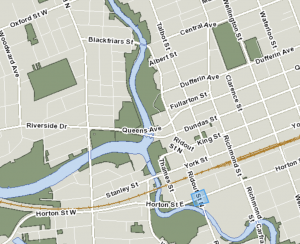
Hotspot Partner Clues
Students select the intersection of two roads, avenues, etc. Would require 2 clues to solves and could be used in a “partner” escape attempt.
|
Get your own free copy of these puzzles for your own use with the Escape Room Question Set.
Running Your Digital Escape Rooms Through Classtime
Classtime can make the perfect companion to your escape room experience, but you’ll want to answer a couple of key questions first.
1. What is your lesson trying to measure: mastery or performance?
Essentially, your answer will determine whether or not you display the teacher dashboard at the front of the room.
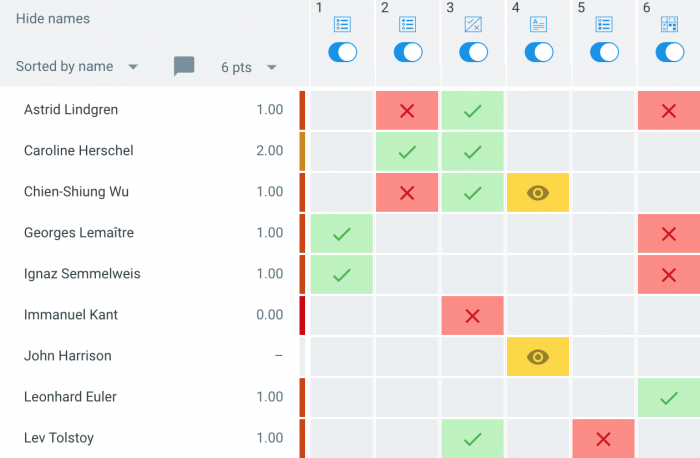
By choosing to display this, students can self-monitor their progress and accuracy throughout the escape, forcing them to go back and complete to achieve mastery in the lesson. If you do not want to display it, it’s pretty likely you’re using the escape room as a kind of formal assessment of student performance.
2. How much pressure do you want your digital escape rooms to have?
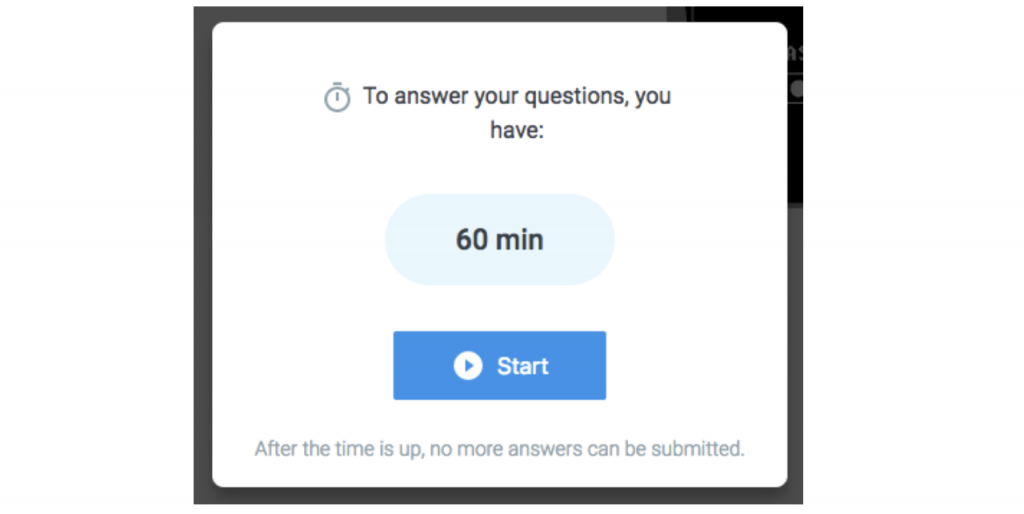
If you put a session timer on your escape room, it will certainly heighten the tension and drama of students having to complete the questions. Although this can certainly increase engagement, just be careful to take into account students who may not function well under pressure, especially students who need extra accommodations (such as students with IEPs, English Language Learners, etc). Depending on how long your particular activities will take for students to accumulate passwords, clues, etc., this session timer may vary from 10 minutes to the entire class period.
3. What settings should my session use overall?
When I’ve tried digital escape rooms with my class, I’ve always run with these settings:
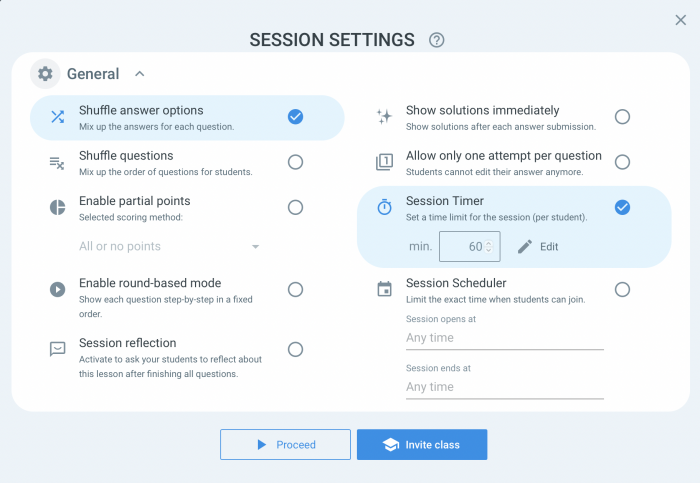
The only optional one I’ve ever considered might be shuffle questions, but this means that your students have to do the Classtime session all at once– only after they’ve gathered every clue they need.
If you’re ready to start creating your digital escape rooms, I recommend checking out Sarah Wilking’s resource collection that she shared with me a few years ago. It’s got everything here from the basics for beginners basics to additional resources for veterans. With all that said — happy escaping!
 This is a guest post written by Nate Ridgway, a tech-loving history teacher in Indianapolis, Indiana, and co-author of ‘Don’t Ditch That Tech’. He specializes in lesson design and differentiation and also is licensed in Special Education Mild Interventions. He’s taught in both middle school and high school settings, but currently is enjoying teaching World History & Dual Credit U.S. History. He currently serves on Classtime’s Pedagogical Advisory Board.

Joseph R Malafronte
November 6, 2020 at 6:45 pmJust wanted to say it is so appreciated for videos like these. I am a new teacher coming into the field during this pandemic, and any and all tech has become Invaluable. Thanks so much!